
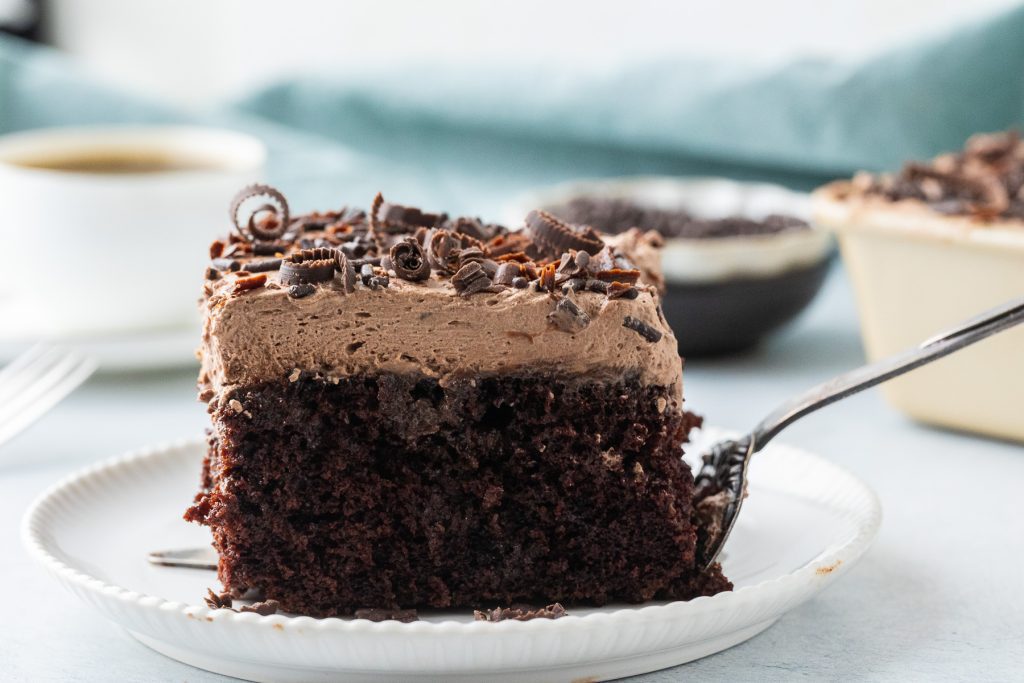
This Easy Chocolate Poke Cake is pure chocolate goodness! Inspired by Love, Life, and Sugar, it’s moist, rich, and soaked in a creamy filling for a deliciously satisfying dessert. Perfect for a cozy treat or to share with loved ones, it’s simple to make and enjoy. We love it so much that we wanted to add it to our blog, so we can have it handy anytime we crave a chocolatey, heavenly cake.
Ingredients:
Chocolate Cake
- 2 cups (260g) all-purpose flour
- 2 cups (414g) sugar
- 3/4 cup (85g) unsweetened cocoa powder
- 2 tsp (10g) baking soda
- 1 tsp salt
- 2 eggs
- 1 cup (240ml) milk
- 1 cup (240ml) vegetable oil
- 2 tsp vanilla
- 1 cup (240ml) hot water
- 14 oz sweetened condensed milk
- 1 cup (169g) semi-sweet chocolate chips

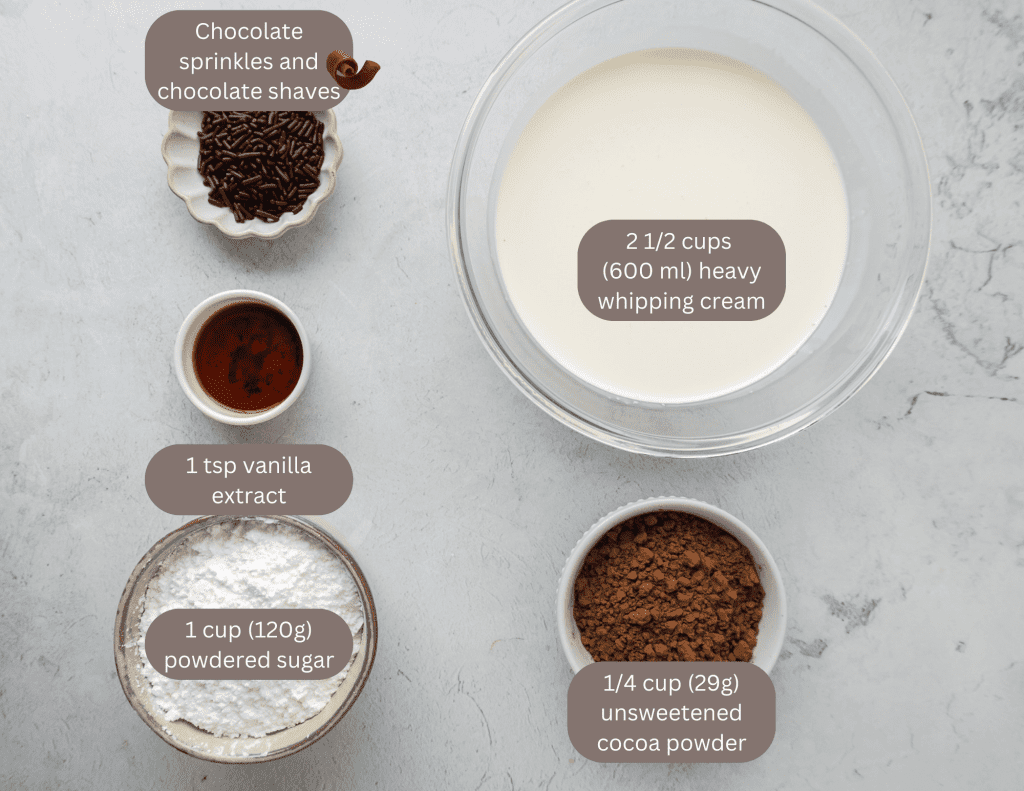
Whipped Cream Topping
- 2 1/2 cups (600 ml) heavy whipping cream, cold
- 1 cup (120g) powdered sugar
- 1/4 cup (29g) unsweetened cocoa powder
- 1 tsp vanilla extract
- Chocolate sprinkles and chocolate shaves
Instructions:
- Preheat & Prepare Pan: Preheat your oven to 350°F (175°C). Grease a 9×13-inch baking pan and set aside.
- Mix Dry Ingredients: In a large bowl, whisk together flour (2 cups), sugar (2 cups), cocoa powder (3/4 cup), baking soda (2 tsp), and salt (1 tsp).
- Add Wet Ingredients: Add 2 eggs, 1 cup milk, 1 cup vegetable oil, and 2 tsp vanilla extract to the dry mixture. Mix until combined.

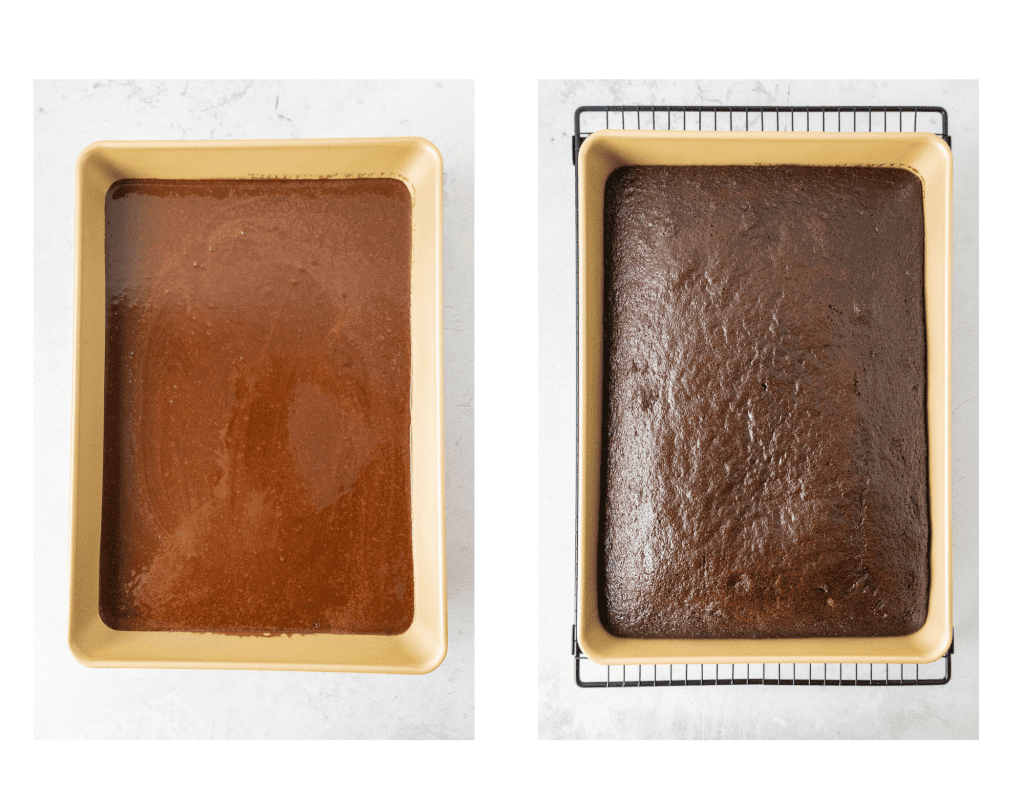
- Incorporate Hot Water: Slowly mix in 1 cup hot water until the batter is smooth. The batter will be thin; this is normal.

- Bake: Pour the batter into the prepared pan and bake for 30-35 minutes, or until a toothpick inserted in the center comes out clean.
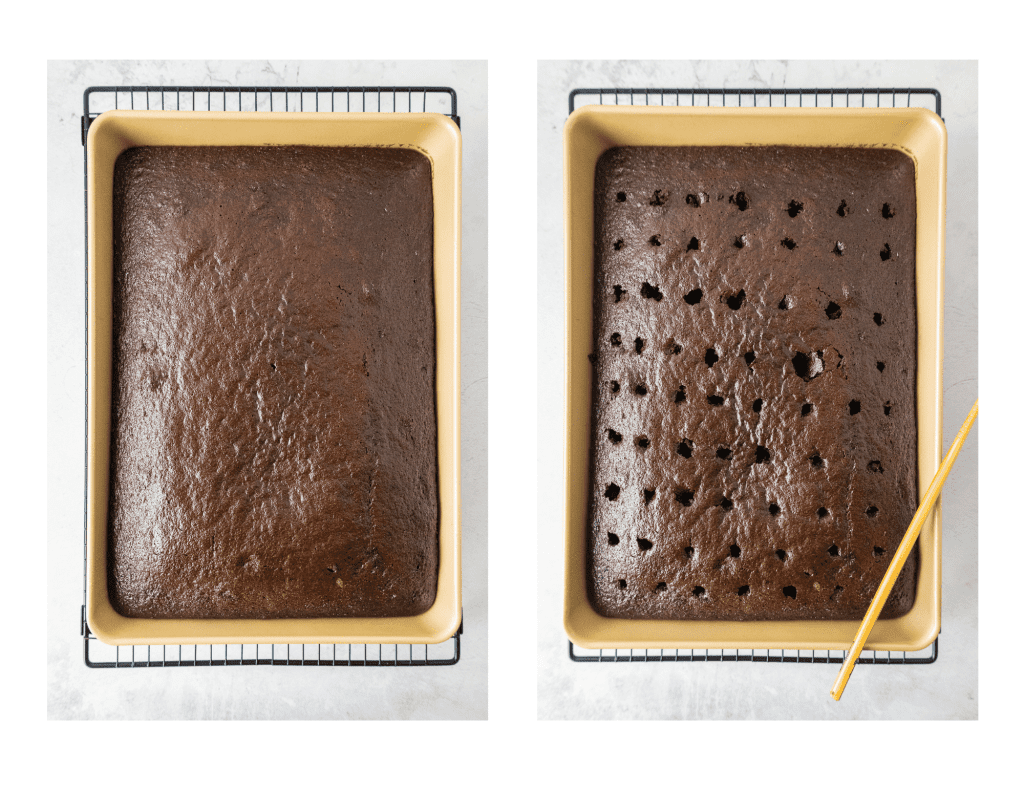
- Poke Holes & Add Filling: Remove the cake from the oven and allow it to cool for 5-10 minutes. Use the handle of a wooden spoon or chopstick to poke holes evenly across the surface of the cake.
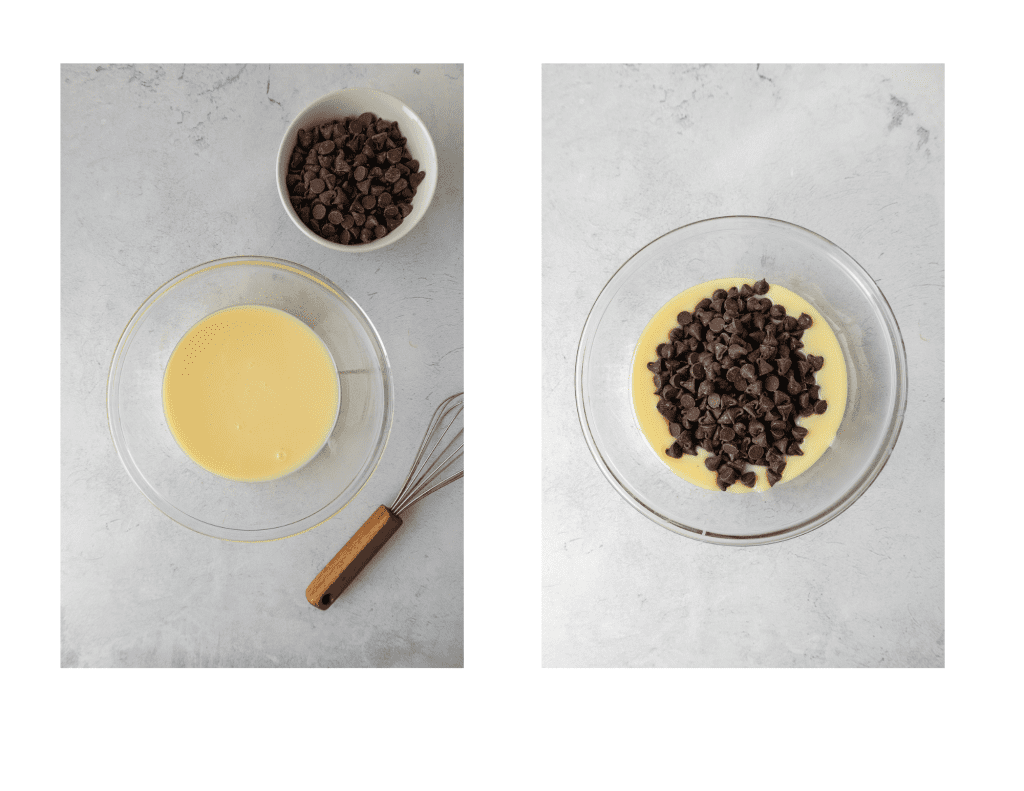
- Chocolate Filling: In a microwave-safe bowl, combine 14 oz sweetened condensed milk and 1 cup chocolate chips. Heat in 20-second intervals, stirring in between, until fully melted and smooth.
- While the cake is still warm, pour the mixture over it, ensuring it seeps into the holes. Place the cake in the fridge to chill and absorb the liquid.

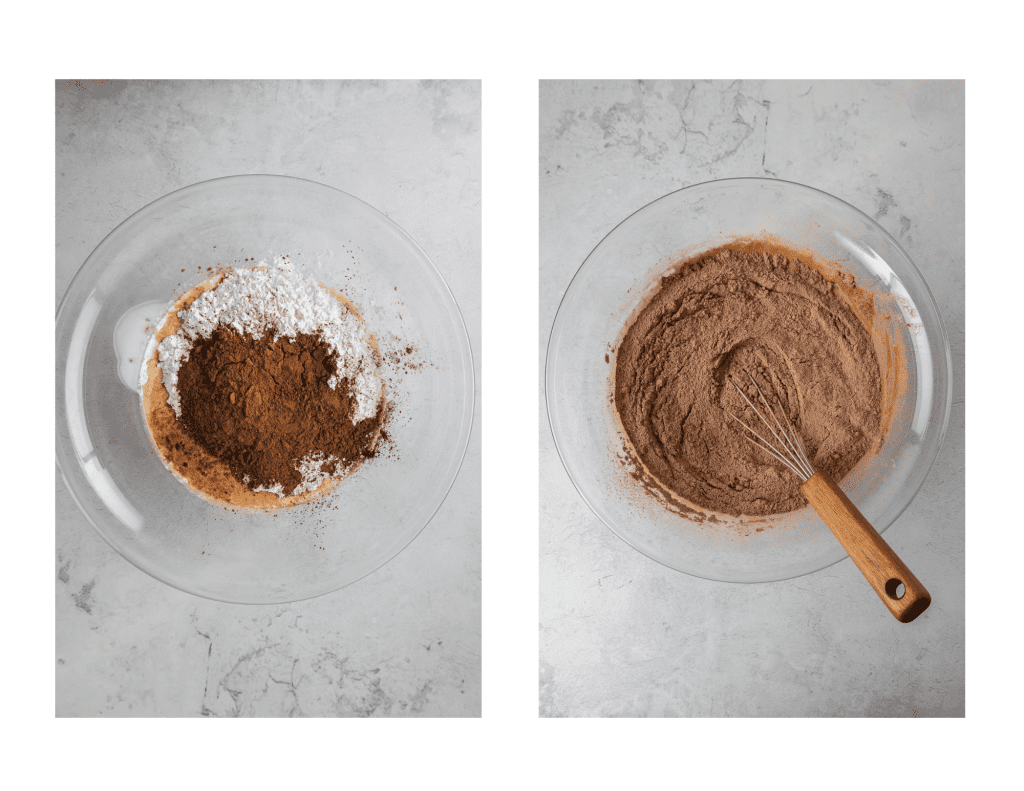
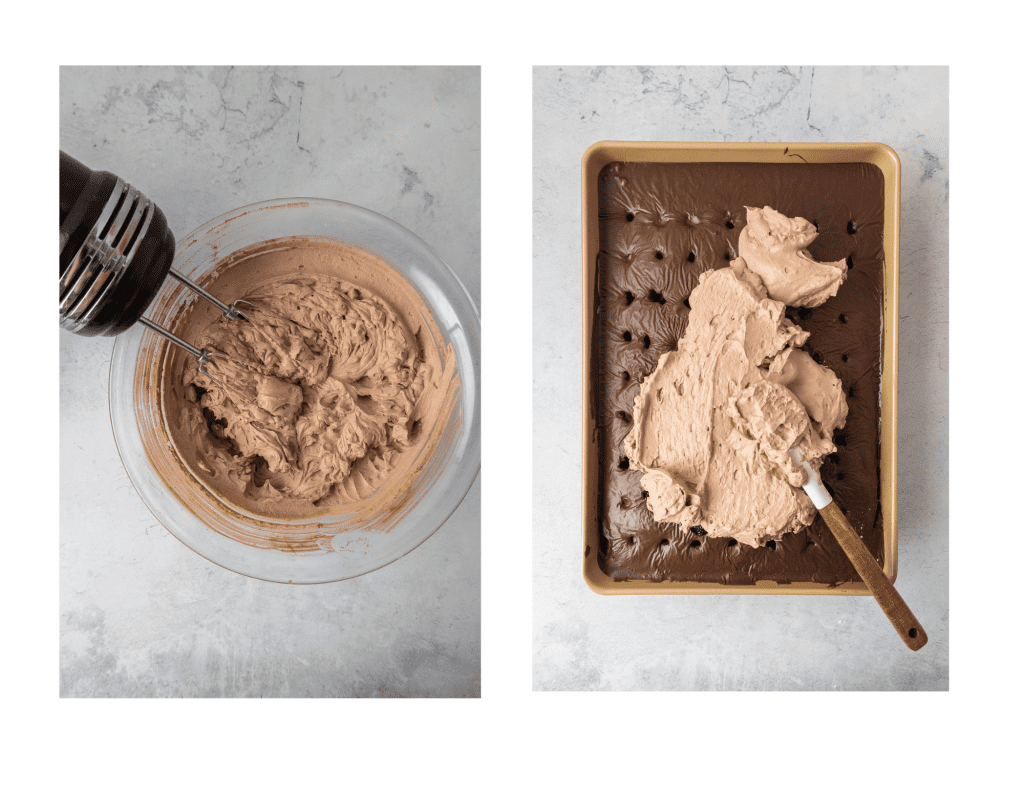
- Whipped Cream Topping: In a large bowl, beat 2 1/2 cups cold heavy whipping cream, 1 cup powdered sugar, 1/4 cup cocoa powder, and 1 tsp vanilla extract until stiff peaks form. Spread evenly over the cooled cake.
- Garnish: Top with chocolate sprinkles and chocolate shavings.
- Click here to learn how to make chocolate curls at home for this chocolate cake or any dessert you’d like to garnish with them!
- Serve: Slice and enjoy!

Frequently Asked Questions:
- Can I make this cake in advance? Yes, it can be made a day ahead and stored in the fridge. Add the whipped cream topping just before serving.
- Can I use store-bought whipped topping? Yes, but homemade whipped cream adds a richer flavor.
- What if I don’t have semi-sweet chocolate chips? Substitute with milk or dark chocolate chips based on your preference.

How to Store and Prepare Easy Chocolate Poke Cake Ahead of Time:
Storing Chocolate Poke Cake
- Refrigerator:
- Once assembled, cover the cake tightly with plastic wrap or foil.
- Store in the refrigerator for up to 3 days.
- Ensure it is well-covered to prevent the whipped topping from absorbing fridge odors.
- Freezer:
- If you want to freeze the cake base, skip the whipped cream topping.
- Wrap the cooled cake tightly in plastic wrap and then foil.
- Store in the freezer for up to 3 months.
Thaw overnight in the refrigerator before adding the topping and garnishes.

Tips for Making Chocolate Poke Cake Great:
- Sift Dry Ingredients: Sift the cocoa powder, flour, and powdered sugar to ensure a smooth, lump-free batter and topping.
- Use Room Temperature Ingredients: Let eggs and milk come to room temperature before mixing to create a smoother batter and better rise.
- Don’t Overmix the Batter: Stir just until the ingredients are combined to avoid a dense cake.
- Poke the Cake While Warm: Use the handle of a wooden spoon or chopstick to create evenly spaced holes while the cake is still slightly warm. This ensures the condensed milk soaks in thoroughly.
- Pour the Filling Slowly: Drizzle the sweetened condensed milk over the holes gradually, letting it absorb before adding more. This prevents overflow and ensures the cake is moist.
- Chill Before Adding Whipped Cream: Allow the cake to cool completely in the refrigerator before spreading the whipped cream topping.
- Whip Cream Until Stiff Peaks Form: Beat the heavy cream until stiff peaks form for a sturdy topping that holds its shape.
- Customize the Garnishes: Add chocolate curls, sprinkles, or even fresh berries for a personalized touch. Toasted nuts or caramel drizzle can also enhance the flavor.
- Use High-Quality Chocolate: Opt for good-quality semi-sweet chocolate chips for a rich and decadent flavor.
- Serve Chilled: This cake tastes best when served cold, allowing all the flavors to meld beautifully.
Try these next:
Chocolate Mousse with Cocoa Powder

Pin for later:


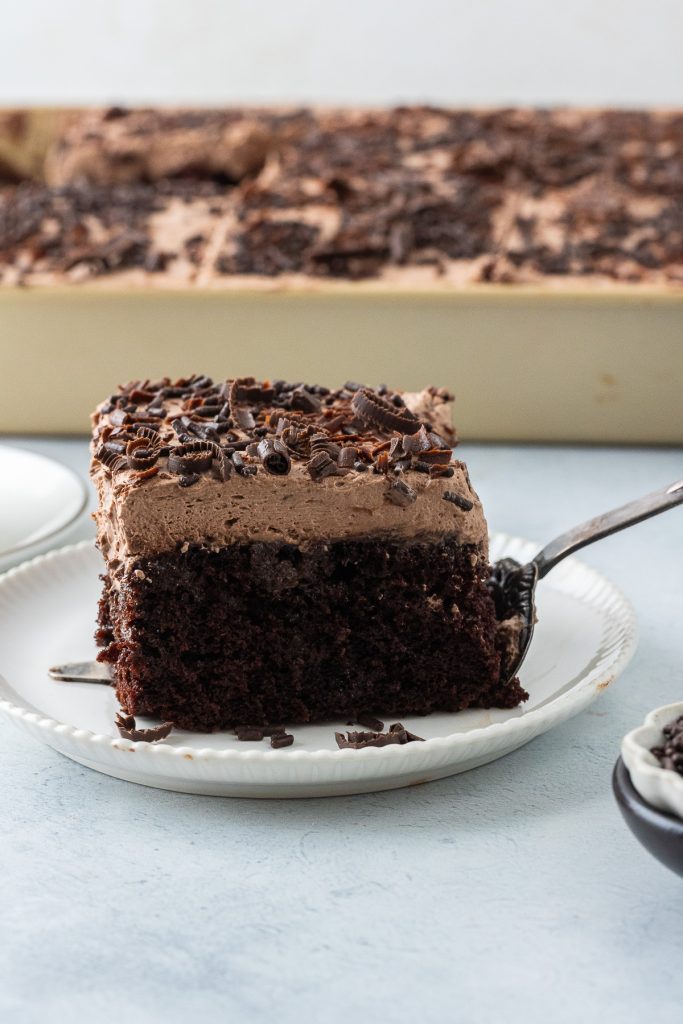
Easy Chocolate Poke Cake
Easy Chocolate Poke Cake – rich, moist, and topped with whipped cream, the perfect chocolate treat for any occasion!
Ingredients
Chocolate Cake
- 2 cups 260g all-purpose flour
- 2 cups 414g sugar
- 3/4 cup 85g unsweetened cocoa powder
- 2 tsp 10g baking soda
- 1 tsp salt
- 2 eggs
- 1 cup 240ml milk
- 1 cup 240ml vegetable oil
- 2 tsp vanilla
- 1 cup 240ml hot water
- 14 oz sweetened condensed milk
- 1 cup 169g semi-sweet chocolate chips
Whipped Cream Topping
- 2 1/2 cups 600 ml heavy whipping cream, cold
- 1 cup 120g powdered sugar
- 1/4 cup 29g unsweetened cocoa powder
- 1 tsp vanilla extract
- Chocolate sprinkles and chocolate shaves
Instructions
- Preheat & Prepare Pan: Preheat your oven to 350°F (175°C). Grease a 9×13-inch baking pan and set aside.
- Mix Dry Ingredients: In a large bowl, whisk together flour, sugar, cocoa powder, baking soda, and salt.
- Add Wet Ingredients: Add eggs, milk, vegetable oil, and vanilla extract to the dry mixture. Mix until combined.
- Incorporate Hot Water: Slowly mix in the hot water until the batter is smooth. The batter will be thin; this is normal.
- Bake: Pour the batter into the prepared pan and bake for 30-35 minutes, or until a toothpick inserted in the center comes out clean.
- Poke Holes & Add Filling: Remove the cake from the oven and allow it to cool for 5-10 minutes. Use the handle of a wooden spoon or a skewer to poke holes evenly across the surface of the cake.
- Chocolate Filling: In a microwave-safe bowl, combine the sweetened condensed milk and chocolate chips. Heat in 20-second intervals, stirring in between, until fully melted and smooth. While the cake is still warm pour the mixture over the cake, ensuring it seeps into the holes. Place the cake in the fridge to chill and absorb the liquid.
- Whipped Cream Topping: In a large bowl, beat the cold heavy whipping cream, powdered sugar, cocoa powder, and vanilla extract until stiff peaks form. Spread evenly over the cooled cake.
- Garnish: Top with chocolate sprinkles and chocolate shavings.
- Serve: Slice and enjoy!
Does it have to stay in the fridge?
Yes, this cake should be stored in the fridge. Since it has sweetened condensed milk poured over it and a whipped cream topping, keeping it chilled helps the flavors set and ensures the topping stays fresh and stable. Just cover it well to prevent it from drying out or absorbing fridge odors.